Türkçe


Ubuntu’da GitLab Nasıl Kurulur
GitLab is a powerful open-source DevOps platform used for managing Git repositories, CI/CD pipelines, code reviews, and more. It’s widely adopted by developers and teams to streamline software development and deployment. In this guide, you’ll learn how to install GitLab on an Ubuntu server.
Prerequisites
Before you begin, make sure you have the following:
- A system running Ubuntu 20.04 or later
- At least 4 GB of RAM and 2 CPU cores (8 GB RAM recommended for production)
- Root or sudo privileges
- A domain name (optional but recommended)
- A static IP address
Step 1: Update the System
First, ensure your system packages are up-to-date:
Step 2: Install Required Dependencies
GitLab requires some dependencies to be installed beforehand:
You should also install Postfix for sending email notifications (or choose another MTA):
During installation, select “Internet Site” when prompted and enter your server’s hostname.
Step 3: Add the GitLab Repository
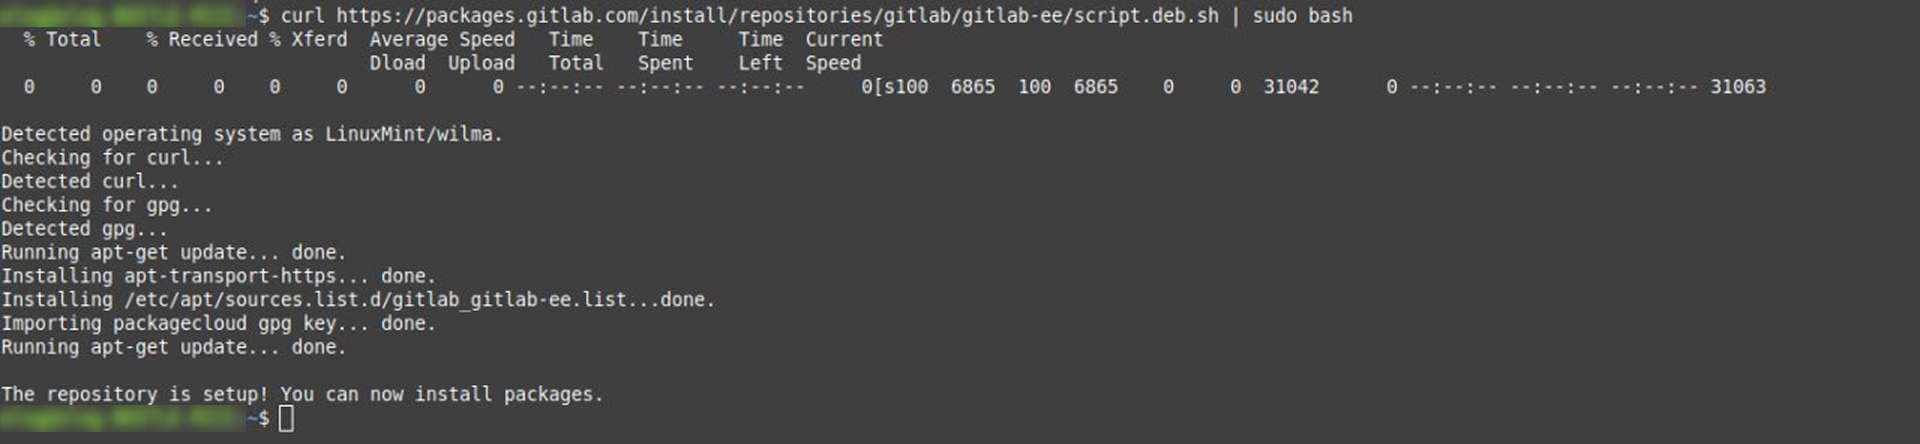
Use the official GitLab installation script to add the repository:
curl https://packages.gitlab.com/install/repositories/gitlab/gitlab-ee/script.deb.sh | sudo bash
Note: This adds the GitLab Enterprise Edition repository. If you want the Community Edition, replace gitlab-ee with gitlab-ce in the next step.
Step 4: Install GitLab
Now install GitLab by specifying your domain or server IP:
If you don’t have a domain name, use your server’s IP instead (e.g., http://123.123.123.123).
Step 5: Configure GitLab
Once installed, run the following command to reconfigure GitLab:
This will initialize GitLab, configure services, and start all necessary components.
Step 6: Access GitLab
Open your browser and navigate to:
On the first login, you’ll be prompted to set the admin password. The default admin username is:
Step 7: Secure GitLab with HTTPS (Optional)
For production use, you should secure GitLab using HTTPS. You can either:
Manually install an SSL certificate
Use Let’s Encrypt during setup
To enable Let’s Encrypt, edit the GitLab configuration:
Uncomment and update these lines:
external_url "https://your-domain.com"
 letsencrypt['enable'] = true
Then reconfigure:
Step 8: Manage GitLab Services
You can manage GitLab services using the following commands:
sudo gitlab-ctl start # Start GitLab
 sudo gitlab-ctl stop # Stop GitLab
 sudo gitlab-ctl restart # Restart GitLab
 sudo gitlab-ctl status # Check status
Conclusion
You’ve successfully installed GitLab on your Ubuntu server! From here, you can start creating projects, setting up CI/CD pipelines, adding users, and more. For advanced configuration and usage, visit the official GitLab documentation.
Need a version tailored for a specific use case (self-hosted, cloud, enterprise, etc.)? I can help with that too!
İlgili Gönderiler