English


How to Use rsync Utility in Linux to Manage Files Over a Network
Mastering File Management with rsync on Linux Using ava.hosting
Managing files across systems is a breeze with rsync, a powerful Linux utility for synchronizing and transferring files over a network. Whether you’re backing up data, mirroring directories, or migrating files on ava.hosting’s high-performance VPS or dedicated servers, rsync ensures efficiency by copying only changes between source and destination. For example, you can use rsync to back up your ava.hosting-hosted website’s files to a remote server, minimizing bandwidth and time. This guide covers installing, using, and automating rsync for seamless file management, optimized for ava.hosting’s reliable infrastructure.
Installing rsync
Most Linux distributions come with rsync pre-installed. To check if it is installed, run:
rsync --versionIf it is not installed, you can install it using the package manager of your distribution:
- Debian/Ubuntu
sudo apt install rsync - RHEL/CentOS
sudo yum install rsync - Fedora
sudo dnf install rsync - Arch Linux
sudo pacman -S rsync
📌 How to transfer files from Windows to a remote server using rsync via PuTTY SSH?
To use rsync on Windows via PuTTY SSH, you need to have installed:
PuTTY for SSH connection
rsync and OpenSSH on Windows
Pagent (optional) for automatic authentication with the SSH key
Install rsync on Windows using MSYS2
If you have downloaded MSYS2, you can install rsync easily using pacman, MSYS2’s package manager.
- Update MSYS2 and existing packages
In the MSYS2 terminal, run:
pacman -Syu
- If MSYS2 closes automatically after the update, open it again and run:
pacman -Su
✅ This step ensures that you have the latest version of the package manager.
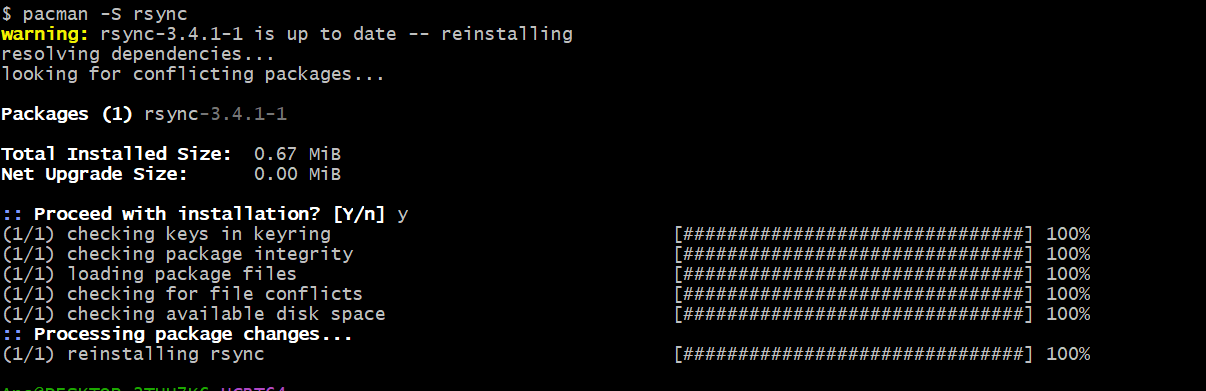
- Install rsync
Now install rsync using:
pacman -S rsync
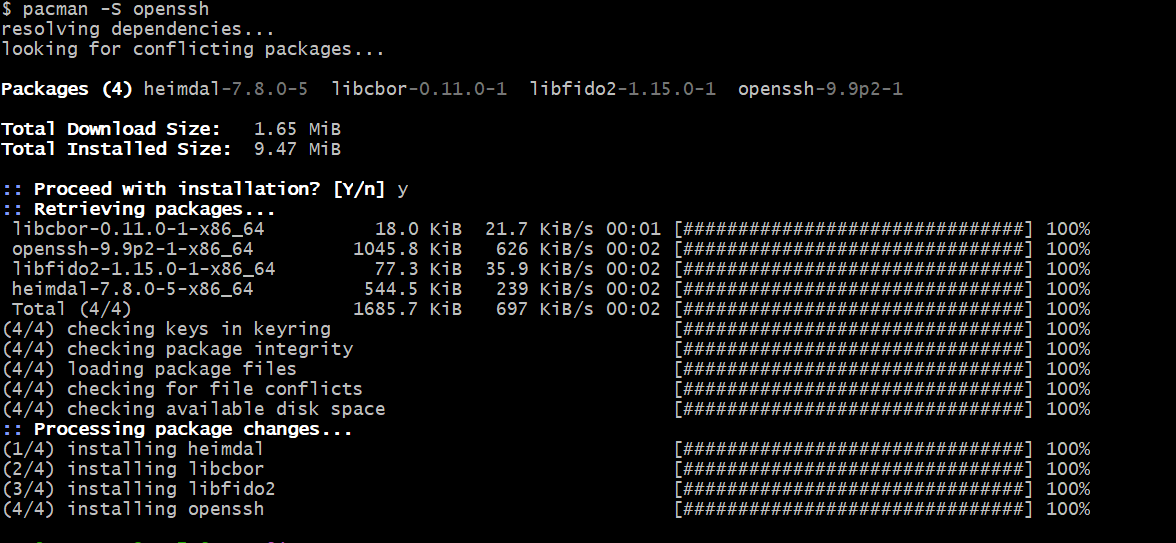
💡 If you need openssh for SSH transfer, install that too:
pacman -S openssh
Verify installation
To verify that rsync was installed correctly, run:
rsync --version

Basic rsync Syntax
The basic syntax of rsync is:
rsync [options] source destinationCommonly Used Options
- -aArchive mode (preserves symbolic links, permissions, timestamps, etc.)
- -vVerbose output
- -z Compress file data during transfer
- -PShow progress during transfer
- -rRecursively copy directories
- -e Specify remote shell (like SSH)
Using rsync for Local File Synchronization
To synchronize files between two local directories:
rsync -av /source/directory/ /destination/directory/The trailing slash / in the source ensures that only the contents of the directory are copied, not the directory itself.
Using rsync Over a Network
Transferring Files to a Remote Server
To transfer files from a local system to a remote server:
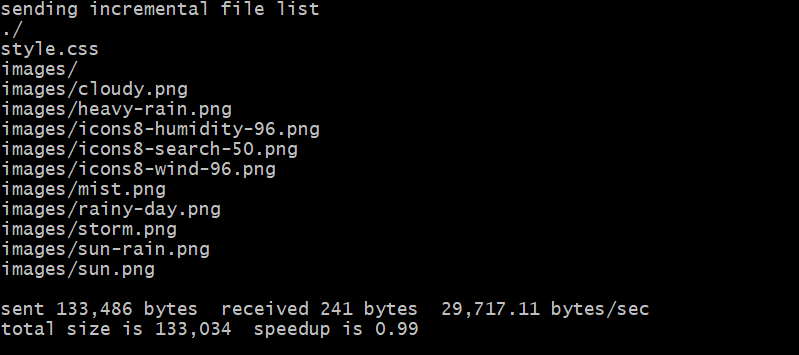
rsync -avz /local/directory/ user@remote_host:/remote/directory/
*After we have added the command in MSYS2, we will add the SSH data to connect to the remote server and the result will be displayed: 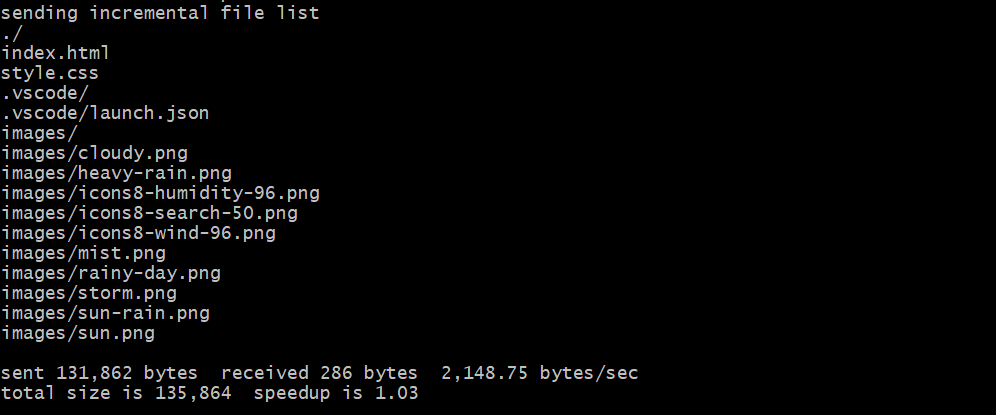
This command securely copies the files to the remote server using SSH.
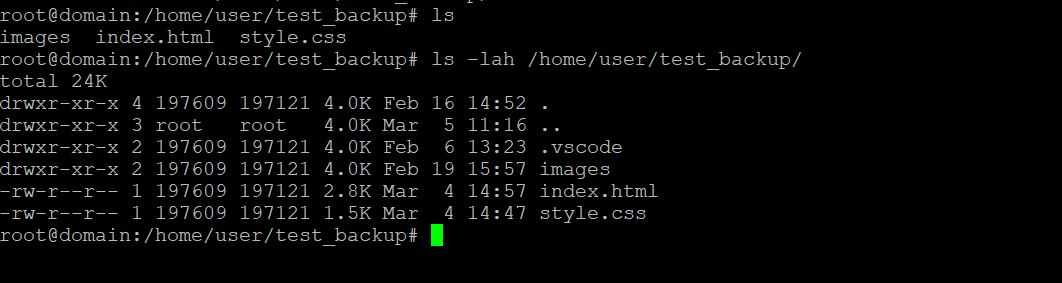
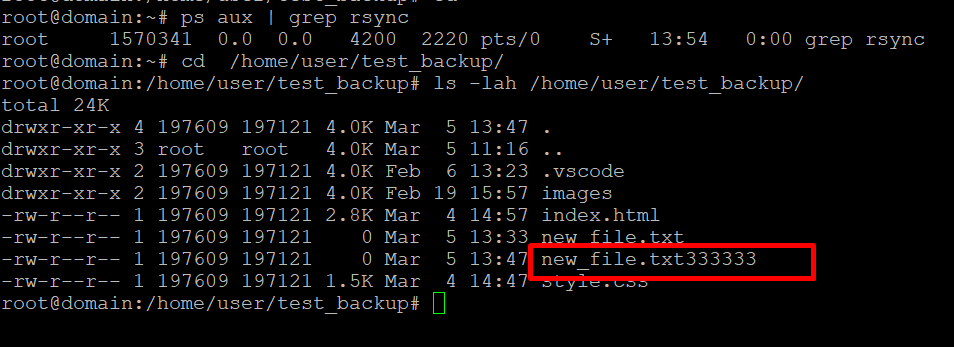
Check if the command was successfully fulfilled on your remote server:
ls -lah /home/user/test_backup/ [put_your_directory]
Transferring Files from a Remote Server to a Local Machine
To copy files from a remote server to your local machine. By default, rsync uses SSH for secure communication. You can explicitly specify SSH with:
rsync -avz -e ssh /local/directory/ user@remote_host:/remote/directory/If SSH uses a non-default port (e.g., 2222), specify it like this:
rsync -avz -e "ssh -p 2222" /local/directory/ user@remote_host:/remote/directory/Synchronizing and Deleting Extra Files
To delete extra files in the destination that are not present in the source:
First step we add extra files in PuttySSH terminal:
cd /home/user/test_backup/
touch file1.txt file2.log file3.jpg
mkdir extra_files
touch extra_files/old_file.txt
Now synchronize the directory without certain files, and rsync will delete the files that are no longer in the source:
rsync -av --delete /source/directory/ /destination/directory/
📌 What does it do?
All files that are on the server but NOT in test/local will be deleted.
MSYS2 result

PuttySSH result
Warning: Use –delete cautiously, as it permanently removes files from the destination.
Excluding Files and Directories
To exclude specific files or directories:
rsync -av --exclude 'file_or_directory' /source/ user@remote_host:/destination/
MSYS2 result
PuttySSH result

For multiple exclusions, use:
rsync -av --exclude={'file1','dir1','*.log'} /source/ user@remote_host:/destination/Running rsync as a Background Process
You can run rsync in the background using nohup:
nohup rsync -avz /source/ user@remote_host:/destination/ This allows the process to continue even after logging out.
In the local directive we added a new file new_file.txt33333333, then we disconnected the PuttySSH terminal, and the above command allows us to send files even when the server is disconnected.
Automating File Transfers with Cron Jobs
To schedule automatic synchronization using cron, open the crontab:
crontab -eAdd a job to run rsync every day at midnight:
0 0 * * * rsync -avz /source/ user@remote_host:/destination/Conclusion
rsync is an indispensable tool for Linux file management, offering efficient synchronization and transfer capabilities over networks. Whether you’re backing up a WordPress site, mirroring logs, or migrating data on ava.hosting’s reliable VPS, rsync saves time and bandwidth. For instance, you can use rsync to securely back up your ava.hosting server’s /var/www directory to a remote location, ensuring data safety. With ava.hosting’s high-performance infrastructure and rsync’s versatile options, you can streamline workflows, automate backups, and manage files with confidence.
Related Posts