English


Correctly saving and complete the work the NANO tool in Linux
Using Nano Text Editor on AvaHost VPS: A Simple Guide
Nano is a lightweight, user-friendly text editor perfect for Linux users on AvaHost’s high-performance VPS. Ideal for beginners and experts alike, Nano simplifies editing configuration files, scripts, or code for web applications like WordPress or Redmine. This guide covers installing and using Nano on AvaHost’s Ubuntu or CentOS VPS, leveraging NVMe SSDs and cPanel for efficient server management.
Prerequisites
AvaHost Linux VPS (e.g., VPS Basic, €10/month) with Ubuntu or CentOS.
Root or sudo access (ssh root@your-vps-ip).
Stable internet connection for package installation.
NANO installation
Most Linux distributions come with Nano pre-installed. However, if it is not available, you can install it using your distribution’s package manager. For example, on Debian based systems you can use:
sudo apt-get install nano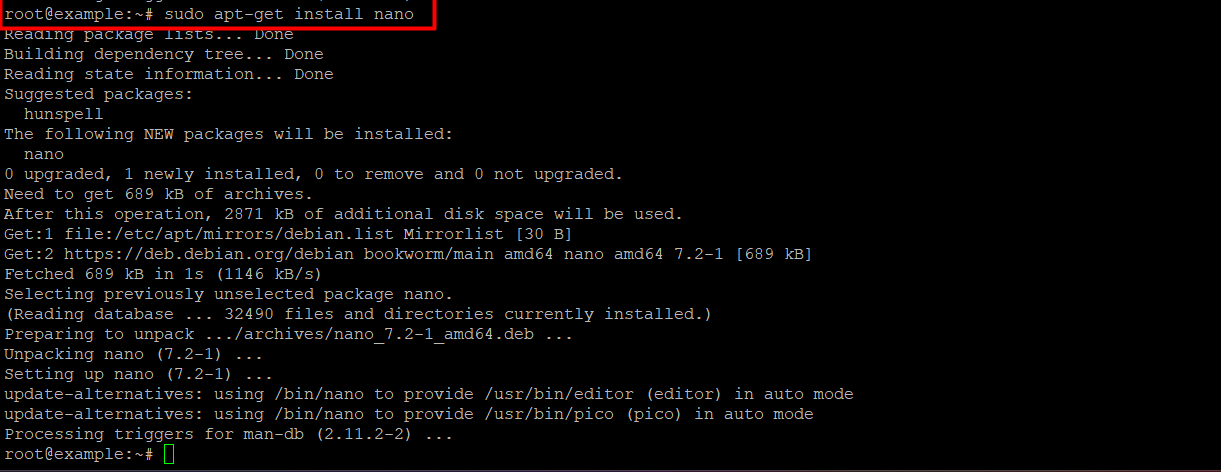
Save changes to NANO
To open an existing file or create a new one, enter nano followed by the file name:
nano filenameA new editor window will open and you can start editing the file. Once you’re done making changes, press Ctrl-o to save your work. Nano will display the file name and prompt you to save your changes. Press Enter to save the file.
Basic navigation
Nano uses simple keyboard shortcuts for navigation. The arrow keys move the cursor, and the Page Up/Page Down keys scroll through text.
Exit Nano
Press Ctrl + X to exit Nano. If there are unsaved changes, Nano will prompt you to save them.
Conclusion
Nano is a versatile, beginner-friendly text editor for managing files on AvaHost’s Linux VPS. With simple commands for editing, saving, and navigating, plus advanced features like search and syntax highlighting, Nano streamlines configuration tasks for web applications. AvaHost’s NVMe SSDs, LiteSpeed, and cPanel enhance the editing experience.
Related Posts